
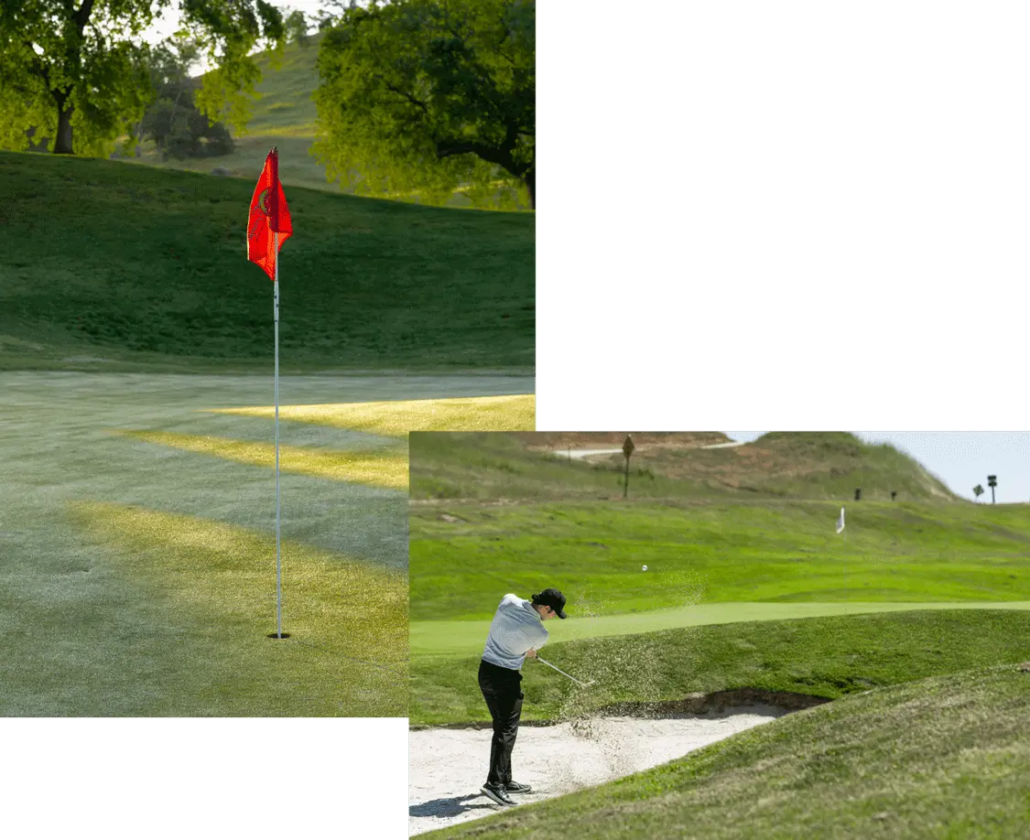
Eagle Springs has been hailed as one of the most spectacular courses in California. Opened in 1990, this award-winning golf course quickly grabbed the attention and respect of valley golfers with its top ten ranking by California Golf.

A natural masterpiece

Our Course

MORE INFORMATION SIZE IT UP    
The Course Background

A marvelous golf course

A Johnny Miller
Signature Design

From its very inception, the Johnny Miller Signature Golf Course at Eagle Springs was designed to rival the finest golf courses in the world. PGA Tour winner and internationally renowned golf course designer johnny Miller personally designed every facet of the astounding course, from concept to completion.

Eagle Springs Golf & Country Club is a non-walking golf course.

Hole #1

Par 4 • Men’s Handicap 7 • Ladies Handicap 11

A straight tee shot just left of the fairway oak will leave the average golfer with a mid to low iron in. The real challenge of the hole lies in the approach shot, a properly positioned approach leaves you with a makeable putt, by contrast ending up on the wrong side of the center ridge can almost guarantee a three-putted green.

Hole #2

Par 3 • Men’s Handicap 9 • Ladies Handicap 15

This rather simple par three has danger lurking! A smart tee shot would favor the right side of the green with proper club selection at a premium. Taking into  consideration the slight elevation and out-of-bounds long, club down and play to the fat of the green.

Hole #3

Par 4 • Men’s Handicap 1 • Ladies Handicap 1

This long par four is rated the toughest hole on the course. A good tee-shot still requires a fairway wood to long iron in. I suggest hitting the driver and favoring the left side of the fairway. The green isn’t conducive to run-up shot so take your bogey and move on.

Hole #4

Par 4 • Men’s Handicap 5 • Ladies Handicap 3

This is an outstanding par 4 that tees off with panoramic splendor from its super elevated tee. The hole moves to the right favoring a slight fade off the tee. You should avoid the right side due to the deep gully that is situated there. The second shot drops into the green that is fronted by a seasonal creek. This green is double tiered and sets up well for the mid-iron approach.

Hole #5

Par 5 • Men’s Handicap 15 • Ladies Handicap 115

This par 5 is full of design obstacles. The tee shot is framed by the mature oaks on the left and lined by a creek all along the right. With a big tee shot a player may elect to go for the green that has heavy bunkering on the left and is enhanced on the right by a beautiful lake. This is a good birdie opportunity if played correctly.

Hole #6

Par 4 • Men’s Handicap 3 • Ladies Handicap 9

This par 4 is one of my favorites. It is difficult due to its length, but also features a tee shot with trouble on the left in the form of a deep creek bed and trees. The approach shot is with a long iron to a green framed by oaks on the left and one must negotiate the shallow green that has an inviting bunker fronting the center of the green. A par here is a great score!

Hole #7

Par 3 • Men’s Handicap 17 • Ladies Handicap 17

This short par three plays one to two clubs shorter due to the elevation involved. With three bunkers left, I would suggest favoring the right side a bit and maybe play for a lucky bounce off the mountainside. Birdie is definitely possible here.

Hole #8

Par 4 • Men’s Handicap 11 • Ladies Handicap 13

This challenging par 4 moves left to right of tee and favors a tee shot right of center to avoid the oak tree at the turning point of the hole. The second shot needs to avoid several perils including a large flat bunker fronting the entire green. The green has several undulations that should make putting interesting. This hola has a nice feeling to it.

Hole #9

Par 5 • Men’s Handicap 13 • Ladies Handicap 7

Out of Bounds comes into play on the left with the lateral hazard gobbling up any shots that stray too far to the right. A good tee shot is crucial on this hole. Hit your second shot long and left to help avoid the out of bounds that lies over the green and just off the right. If you can’t advance your second shot that far then try laying your ball back about 100 yards to avoid the thick rough that stretches out about 30 yards short of the green.

Hole #10

Par 4 • Men’s Handicap 16 • Ladies Handicap 14

Finally, a true birdie hole! This short par four requires an accurate tee shot of only about 175 to 225 yards to be in proper scoring position. A good wedge shot will give you a makeable birdie putt on this relatively flat green. From the white tees a long hitter could get home in one but with O.B. right it isn’t recommended.

Hole #11

Par 4 • Men’s Handicap 8 • Ladies Handicap 10

This elevated par four plays much shorter than the yardage suggests. A good tee shot should favor the right side due to the O.B. Check the pin position before teeing off to help determine the best approach angle. The oak tree by the green will swallow any eradicate approach so attempt to avoid the “big oak” if at all possible.

Hole #12

Par 5 • Men’s Handicap 4 • Ladies Handicap 2

This challenging par five presents many options for the golfer. With Out of Bounds lining the right side and lateral hazards along the left and front of the green, accuracy is definitely a must. An average tee-shot combined with an accurate long iron will leave the fortunate few with a wedge in. This undulating green is split into three distinct sections so don’t fall asleep putting or you will pay dearly.

Hole #13

Par 4 • Men’s Handicap 12 • Ladies Handicap 12

It takes a placement shot to avoid the trees on the left and right and caution must be applied to keep your ball out of the creek that guards the entire hole on the right side. The narrow drive will probably be played by the intelligent golfer with a lay-up club to set up a short iron to a green with a lateral low in the middle of it. This is a great shot hole.

Hole #14

Par 3 • Men’s Handicap 6 • Ladies Handicap 16

The distance on this par 3 plays relatively true, so any cleanly struck tee shot that avoids the left-side oak will leave the golfer with a realistic par or birdie.

Hole #15

Par 4 • Men’s Handicap 2 • Ladies Handicap 6

This hole was made in heaven. It is a dogleg left par 4 that moves slightly uphill all the way to the green that sits in a natural amphitheater that is highlighted by massive stone outcroppings and oak trees. This medium length par 4 feels just right when you play it.

Hole #16

Par 5 • Men’s Handicap 10 • Ladies Handicap 4

This short par five presents the golfer with an opportunity to get in or out of the hole rather quickly. A tee-shot just right of the fairway oak is the optimal position. A big drive can give a golfer an opportunity to get home in two with a chance to bounce up a shot in the neck of the green. With O.B. lining the left-side and water coming into play on the approach shot on the right a conservative play is usually favored.

Hole #17

Par 3 • Men’s Handicap 18 • Ladies Handicap 18

A good tee shot is crucial on this hole, with water short and right. A nice little par 3 presents a green that wraps, left to right, around a bunker that awaits. One of the shorter and easier holes, this one is here for the taking. Get that birdie and head to the finishing hole.

Hole #18

Par 4 • Men’s Handicap 14 • Ladies Handicap 8

Before you start thinking that this short uphill par four is another birdie hole think again! This rather friendly fairway leads to our most difficult green. This three-tiered green demands that the golfer place his approach shot on the correct level or a severe penalty will incur. Make sure you determine what level the hole is on before attempting your approach shot.

Copyright Eagle Springs 2026 © All Rights Reserved.